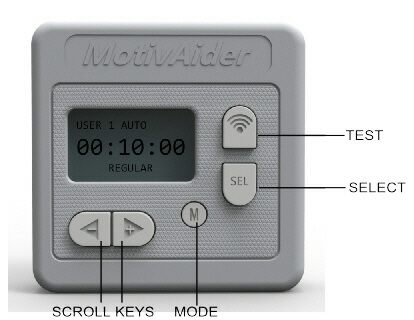
Gen5 MotivAider User's Guide
Installing and Removing the Belt Clip
To remove the belt clip, use a Phillips head screwdriver to loosen the screw that secures the belt clip to the case, then push the clip downward towards the bottom of the case to free the clip. Note: A screwdriver with a PH2 bit is the proper size. Using a bit that's too small can damage the screw head.
We recommend periodically checking the belt clip screw with a screwdriver to make sure it's snug.
IMPORTANT: If you’re going to use the MotivAider without the clip, be sure to fully tighten the screw after removing the clip.
To reinstall the clip, first loosen the screw (please see the note above regarding the proper size screwdriver bit), then position the clip against the case back between the vertical guides with the round opening in the clip over the screw. Next, push the clip up as far as it will go, then fully tighten the screw. A special lock washer located between the screw head and belt clip helps keep the belt clip securely attached to the case. When reinstalling the belt clip, please make sure that the lock washer is placed between the screw head and the belt clip rather than between the belt clip and the case. Note that in order for the lock washer to do its job, the screw must be fully tightened.
TIP: If you need to look at the screen often while the MotivAider is clipped to your waistband and is prompting, there's a simple trick you can use to make it easier to read the screen. Just install the clip upside down! Doing this will also allow you to access the battery compartment without having to first loosen or remove the belt clip.

 is the registered trademark of Behavioral Dynamics, Inc., the originator of the MotivAider.